From my observations, I have noticed that many people still don’t know that Microsoft offers a great program to start using Microsoft 365/Azure tools – the Developer Plan. This offer is a perfect way to begin your journey with Microsoft’s cloud. Many companies don’t offer such an advanced demo environment, especially without a time limit (as long as you use it).
When working with business accounts, there is often a fear of breaking something or simply not having the necessary permissions. The Developer Plan provides $200 to use in Azure and E5 licenses, allowing you to explore the most advanced M365 services. Additionally, you can use Power Apps Premium services like Dataverse and custom connectors. Awesome!
Starting to develop with the Power Platform using the Developer Plan involves several steps, from signing up for the plan to creating your first app or flow. Here’s a step-by-step guide:
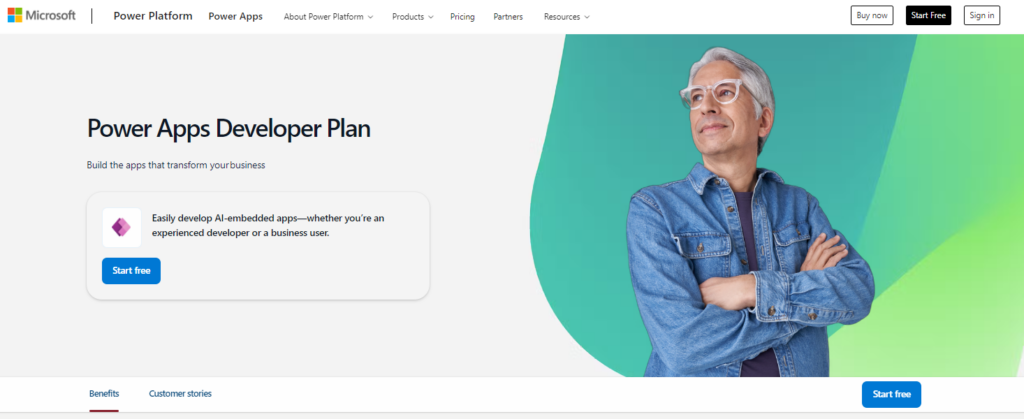
1. Sign Up for the Power Apps Developer Plan
- Go to the Developer Plan Signup Page:
- Visit the Power Apps Developer Plan page.
- Start the Signup Process:
- Click the “Start free” or “Get started free” button.
- Sign In or Create an Account:
- If you already have a Microsoft account, sign in. If not, create a new account by following the instructions provided.
3. Start Building with Power Apps
- Access Power Apps:
- Go to the Power Apps site.
- Create a New App:
- Click on “Create” in the left-hand menu.
- Select the type of app you want to create (Canvas, Model-driven, or Portal). For beginners, starting with a Canvas app is recommended.
- Click “Canvas app from blank”.
- Enter a name for your app and select the layout (tablet or phone).
- Design Your App:
- Use the drag-and-drop editor to add controls (buttons, text boxes, labels, etc.) to your app.
- Add data sources by clicking on “Data” and connecting to services like Excel, SharePoint, or Dataverse.
- Use formulas to define behaviors and interactions.
- Save and Publish Your App:
- Click on the save icon to save your app.
- To publish, go to “File” > “Save” > “Publish”.
4. Start Automating with Power Automate
- Access Power Automate:
- Go to the Power Automate site.
- Create a New Flow:
- Click on “Create” in the left-hand menu.
- Select the type of flow you want to create (Automated, Instant, Scheduled, or Business Process). For beginners, an Automated flow is a good start.
- Name your flow and select a trigger (e.g., receiving an email).
- Click “Create”.
- Define Your Flow:
- Add actions to your flow by clicking “New step”. Choose from a list of available actions (e.g., sending an email, creating a record).
- Configure each action according to your needs.
- Save and Test Your Flow:
- Click “Save” to save your flow.
- Click “Test” to run your flow and ensure it works as expected.
5. Learn and Explore
- Tutorials and Documentation:
- Visit the Power Platform Learning Center for tutorials, documentation, and videos.
- Community and Forums:
- Join the Power Platform Community to ask questions, share solutions, and learn from others.
By following these steps, you can set up your Power Platform development environment and start creating apps and automations. Happy developing!
__________________
Would you like to benefit from consultations dedicated to Microsoft 365, Power Platform, Azure solutions, or would you like to build your Intranet in a very unique and personalized way? Take advantage of the services of the company I have the opportunity to work for! Our specialized team will certainly be happy to listen to your needs and take care of them!
If you have any questions, feel free to contact us.